Control and Adjust Your 3D Printer with Pronterface
 Pronterface is a super handy program that allows you to easlily control and adjust your 3D printer without messing around in firmware. Pronterface is a portable program so no install is required, just save it somewhere convenient, right click the exe and send a shortcut to your desktop. You can grab the latest windows disto here or you can find other distos on the main download page here – Pronterface is contained inside the Printrun disto.
One of the toughest things to get your head around when setting up your printer is the Z offset. Usually it’s a negative value to move your nozzle closer to your printbed after the printer has homed to zero. A correct Z offset is critical for successful prints, too far away and your print might come off and your first layer will be ugly, too close and you will get the “Elephants Foot” effect – a wavey first layer and possibly squshed layers higher up. I think most of us stuffed this setting up at some stage, so here’s an easy way to set it using this handy program.
To get started make sure your print bed is as level as possible by running the corner level proceedure (usually with a sheet of printer paper) – if you’re not sure how to do this check out the article here.
At this point you should make sure you have some clearance between your nozzle and print bed or you risk scratching your build plate.
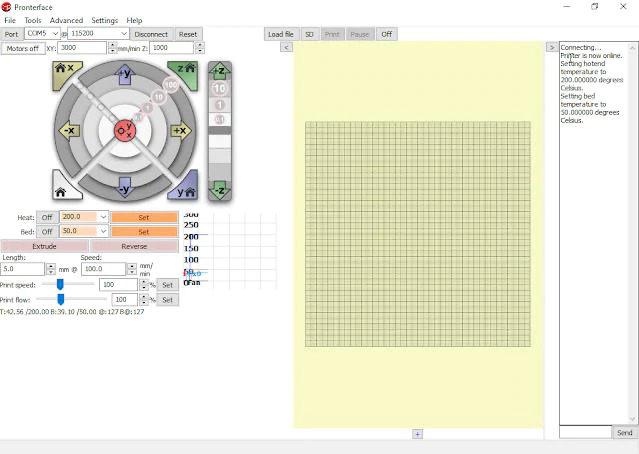
Ok, make sure you have downloaded Pronterface, fired it up, connected your printer and connected the program. Now you’re going to run each one of these commands (in bold) individually by entering them in the send window and hittting send or enter on your keyboard.
G28 – this will home the 3D Printer
G29 – This will run an auto bed level for your 3D Printer if you have it.
G1 X50 Y30 F1000 – This command will position the nozzle somewhere close to the front of the bed
G1 Z0 – Move nozzle to Z absolute Zero
M114 – This will verify the current position of the Z-Axis is actually zero
M211 S0 Turn Off the Software Endstops (so you can move below zero)
At this point, you can use the Pronterface interface to manually move the Z-Axis/nozzle down by using the Z 0.1 button on Pronterface until a piece of paper just catches between the nozzle and the bed.
Once you have the setting correct so the paper is just able to barely move follow the commands below to finish.
M114 – This will verify the new position of the Z-Axis – write it down.
Set this new value with the M851 command. (ensure you set it to the number you wrote down) For example M851 Z-1.4 would set the z offet to minus 1.4, M851 Z1.4 would set it to plus 1.4
M851 Z-1.4 Sets the new Z offset (remember the Z-*.** needs to be the value you wrote down)
M503 – Will display all the settings in your printer, look for the Z Offset value – this verifies the new value was accepted
M500 Saves the new values to EEPROM, if you don’t run this command your new setting will be lost when you power off your printer.
This is just one setting you can change using pronterface, check out our list of G and M codes here with a brief description of their function.